안드로이드 개발 시 폰트를 설정하지 않아도 시스템 폰트가 자동으로 적용된다. 그러나 앱의 특성상 특별한 폰트가 필요하다면 폰트를 다운로드하여 앱에 적용해야 한다.
폰트 다운로드
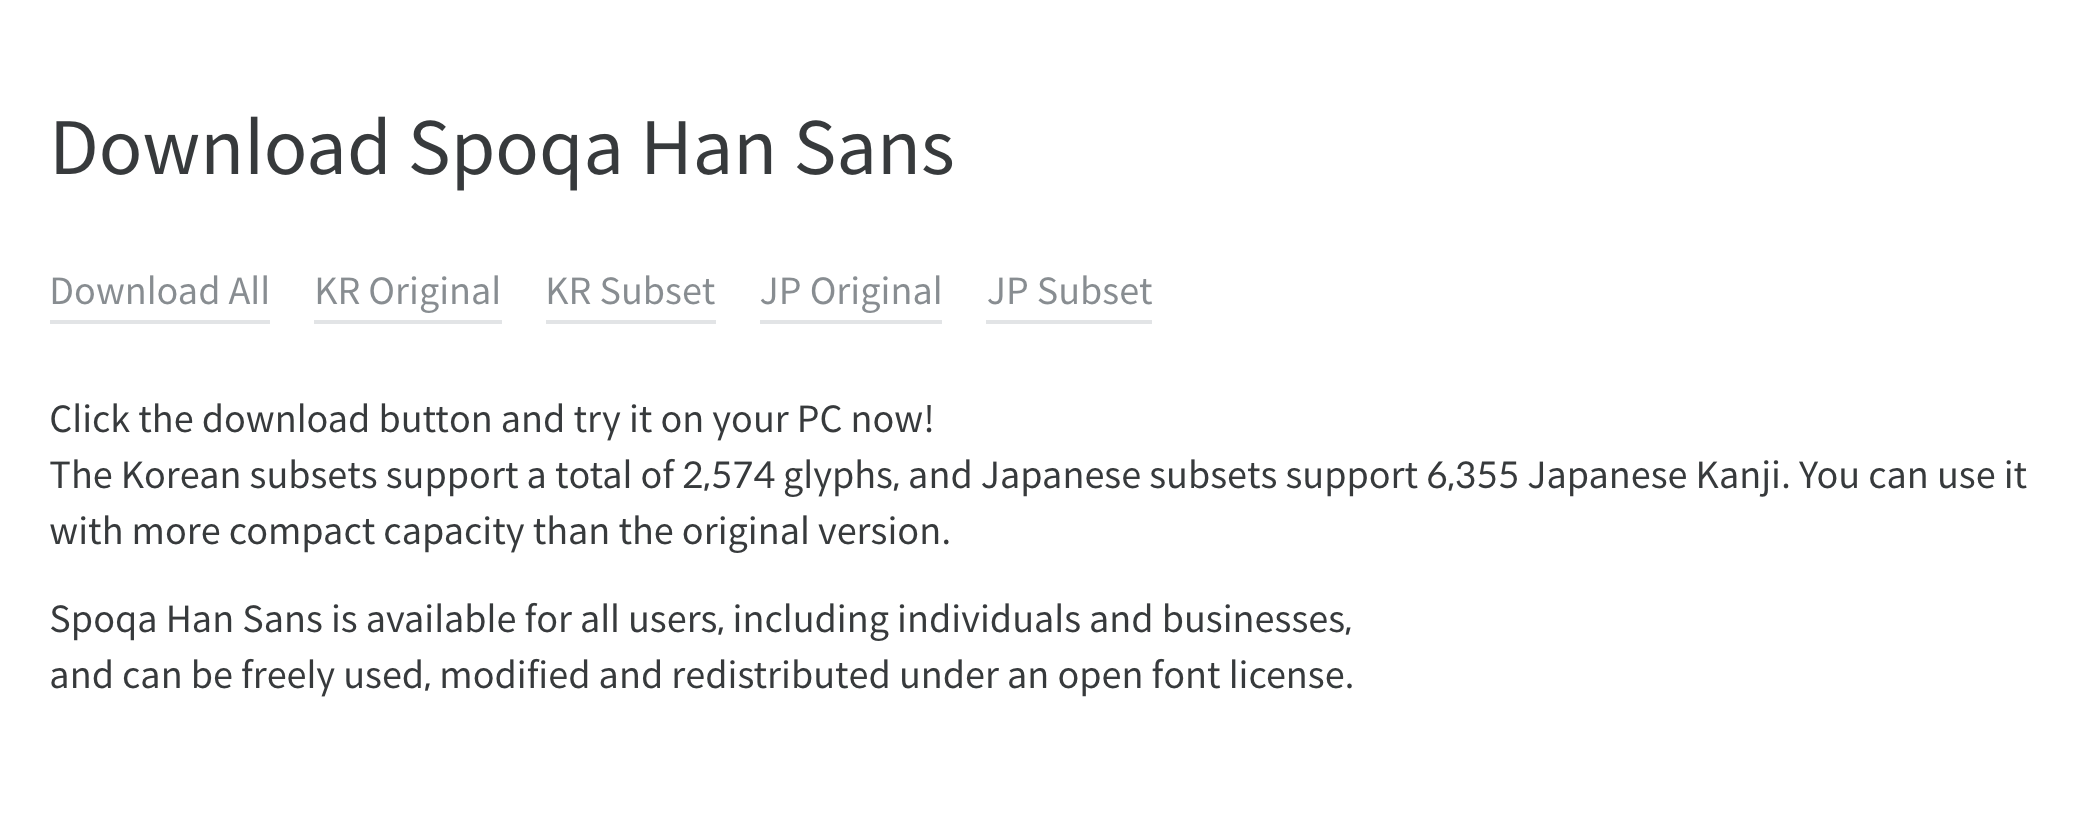
우선 이번 예제에 사용될 스포카 폰트를 다운로드할 것이다. 굳이 스포카가 아니더라도 본인이 원하는 폰트를 받으면 된다. 리소스 자체의 용량의 문제도 있기 때문에 Subset을 사용할 것이다.
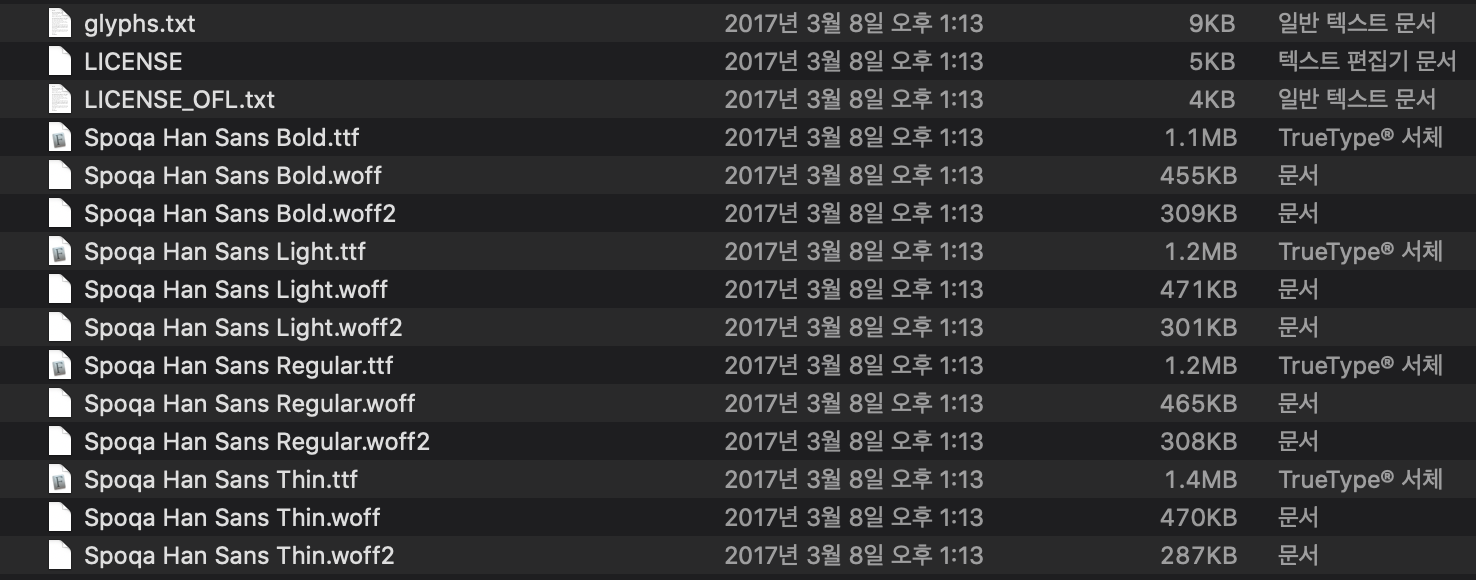
받은 파일의 압축을 풀면 위와 같은 모습이 나온다. 이 파일들 중 우리에게 필요한 것은 ttf 파일이다.
안드로이드 리소스 생성
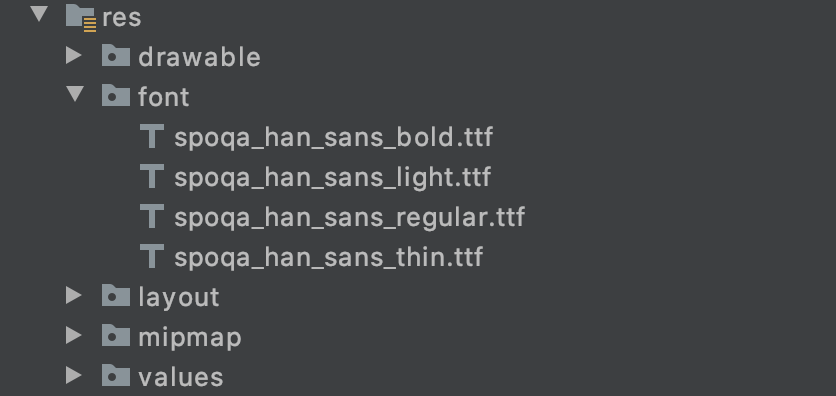
안드로이드 스튜디오로 돌아와 res 안에 font 디렉터리를 생성하고 다운로드한 Spoqa 폰트를 넣어준다. 이때 리소스 규칙에 맞추어 폰트 파일 이름은 소문자와 언더바(_)의 조합으로 만들어 주자
font.xml
<?xml version="1.0" encoding="utf-8"?>
<font-family xmlns:android="http://schemas.android.com/apk/res/android"
    xmlns:app="http://schemas.android.com/apk/res-auto">

    <font
        android:font="@font/spoqa_han_sans_bold"
        app:font="@font/spoqa_han_sans_bold" />

    <font
        android:font="@font/spoqa_han_sans_regular"
        app:font="@font/spoqa_han_sans_regular" />

    <font
        android:font="@font/spoqa_han_sans_light"
        app:font="@font/spoqa_han_sans_light" />

    <font
        android:font="@font/spoqa_han_sans_thin"
        app:font="@font/spoqa_han_sans_thin" />

</font-family>
다음으로 font 디렉터리에 font.xml 파일을 생성한다. 그리고 사용할 폰트를 font-family에 위와 같이 등록하자

이제 TextView나 EditText에서 fontFamily 속성에 폰트를 설정할 수 있게 되었다.
전체 프로젝트에 기본 폰트로 설정
일일이 TextView나 EditText 또는 Button 마다 폰트를 설정해주는 것은 코드를 길게 만들고 여간 귀찮은 일이 아니다. 따라서 style에서 각 컴포넌트 별로 기본 폰트를 설정해 주면 훨씬 편하게 사용할 수 있다.
<?xml version="1.0" encoding="utf-8"?>
<resources xmlns:tools="http://schemas.android.com/tools">

	...

	<!-- 각 컴포넌트 기본 폰트 설정-->
    <style name="TextViewStyle" parent="@android:style/Widget.DeviceDefault.TextView">
        <item name="android:fontFamily">@font/spoqa_han_sans_regular</item>
    </style>

    <style name="ButtonStyle" parent="@android:style/Widget.DeviceDefault.Button.Borderless">
        <item name="android:fontFamily">@font/spoqa_han_sans_regular</item>
    </style>

    <style name="EditTextStyle" parent="@android:style/Widget.DeviceDefault.EditText">
        <item name="android:fontFamily">@font/spoqa_han_sans_regular</item>
    </style>

    <style name="RadioButtonStyle" parent="@android:style/Widget.DeviceDefault.CompoundButton.RadioButton">
        <item name="android:fontFamily">@font/spoqa_han_sans_regular</item>
    </style>

    <style name="CheckboxStyle" parent="@android:style/Widget.DeviceDefault.CompoundButton.CheckBox">
        <item name="android:fontFamily">@font/spoqa_han_sans_regular</item>
    </style>

    ...

</resources>
Style 파일로 들어가 TextView, Button, EditText, RadioButton, CheckBox에 기본 폰트를 적용했다. 이렇게 하면 해당 컴포넌트 들의 기본 폰트가 설정되어, 따로 속성을 넣지 않아도 된다.
'개발' 카테고리의 다른 글
| 안드로이드 다이얼로그를 디바이스 넓이에 맞추기 (0) | 2020.11.03 |
|---|---|
| 코틀린 - 코루틴 기본(Coroutine Basic) (2) | 2020.06.22 |
| 안드로이드 흐르는 텍스트처리 - 띠 배너(Ticker) 만들기 (0) | 2020.06.17 |
| 안드로이드 토스트 메세지(Toast Message) 만들기 (0) | 2020.06.17 |
| 안드로이드 TextView 글자수 초과 시 말 줄임표 처리 (0) | 2020.06.16 |

댓글